Happy Easter from The Stitchery: A free pattern and a biscuit recipe

I love the Easter holiday. It is my favourite break of the year; more than Christmas and I really love Christmas. It’s the colours; the gorgeous pastel hues of mini eggs. Lambs in fields, blossom on roadsides, birds starting to sing in the garden and chocolate for breakfast. I don’t decorate Easter trees for the holiday but I do like to cook a few nice meals and make a cake or two over the long weekend. It’s the perfect break from work and responsibilities with less pressure than Christmas.

P3300592.JPG

This year, the Easter break feels more welcome than ever. The sun is starting to shine a little and restrictions are starting to lift, albeit very slowly, here in the UK. We are hoping to get out for a couple of walks and a takeaway lunch. I also have plans to catch up on some online art classes over the weekend. Lottie will love us being at home with her for a few days.

I felt like stitching a few little chicks and whilst I know it is probably too late for you to stitch them for an Easter gift (although you do have a few days to sit and do them) I thought that you, my readers, customers and fellow stitchers, might like to stitch them too.

You can download the pattern for free over on my website. Clicking the photo below will take you to the digital pattern section of the website.

Sue (Homespun with Love) has been into work today - we collaborate on a few patterns and Sue works with us at the studio once or twice a week when we need help. Sue was a Home Economics teacher and often brings lovely treats in for us to have at break time. Today she brought the prettiest little Easter biscuits and they are so delicious I have eaten three!

I quizzed Sue for the recipe and asked if she would mind me sharing here for you to make some too. They are a simple shortbread biscuit with a simple but effective Easter decoration on top. I bring you - courtesy of Sue - the Easter Bonnet Biscuit!

P3300607.JPG

Sue told me the recipe in imperial measures which I love as I find it easier to remember the quantities (my favourite sponge recipe is a 6/6/6 combination of ingredients!)

Pre-heat oven to 180 deg C and grease or line a baking tray.

Easter Bonnet Biscuits from Homespun with Love

In a bowl, put 6oz plain flour, 4oz room-temperature butter and 2oz caster sugar. Rub together to combine the ingredients into breadcrumbs. Rub a little harder (to warm the fat up) and it starts to form clumps which you then squeeze and knead together to form a ball of dough. Try not too handle the dough too much, so that you get a nice crumbly biscuit.

Roll out the dough to about 1/4” thick and cut biscuits with a fluted circular cookie cutter. Prick the biscuits with a fork and pop in the oven to bake for about 10 minutes. The biscuits can brown quickly, which you don’t want. Keep your eye on them and turn the tray if necessary through cooking and remove any that start to colour too quickly. You want the biscuits to be a pale yellow colour. Remove from the oven and cool on a wire rack.

For the bonnet decoration you need a quantity of glacé icing (icing sugar mixed with water) and some white marshmallows. Pop a marshmallow at the top centre of the biscuit and drop a teaspoon of icing on top of the marshmallow. Allow the icing to run to the edge of the biscuit and tidy up the edges with the back of a spoon. Allow the icing to set and add a piped ribbon with slightly tinted pink glacé icing. If you have them, add a couple of decorative white pearls to the centre of the bow. Allow to set and enjoy with a cup of tea.

Enjoy your Easter break, whatever you get up to!

Thank you for being here.

Nicki xxx
P3300610.JPG


Thread Storage and a new collection

When I think back to the days when I first started stitching, in my childhood, I don’t remember my threads tangling up the way they do now. A visit to the haberdashery shop with mum was such a treat. We would each come home with little white paper bags filled with beautifully coloured silky skeins of thread that I would lay carefully in my sewing box. I remember my padded floral sewing box brimming with threads, lots of pinks of course, and not a single bird’s nest tangle in sight.

Now I just need to look at a skein of thread and it practically snarls up on the spot. I love a fresh new skein but once I start using them - yuck.

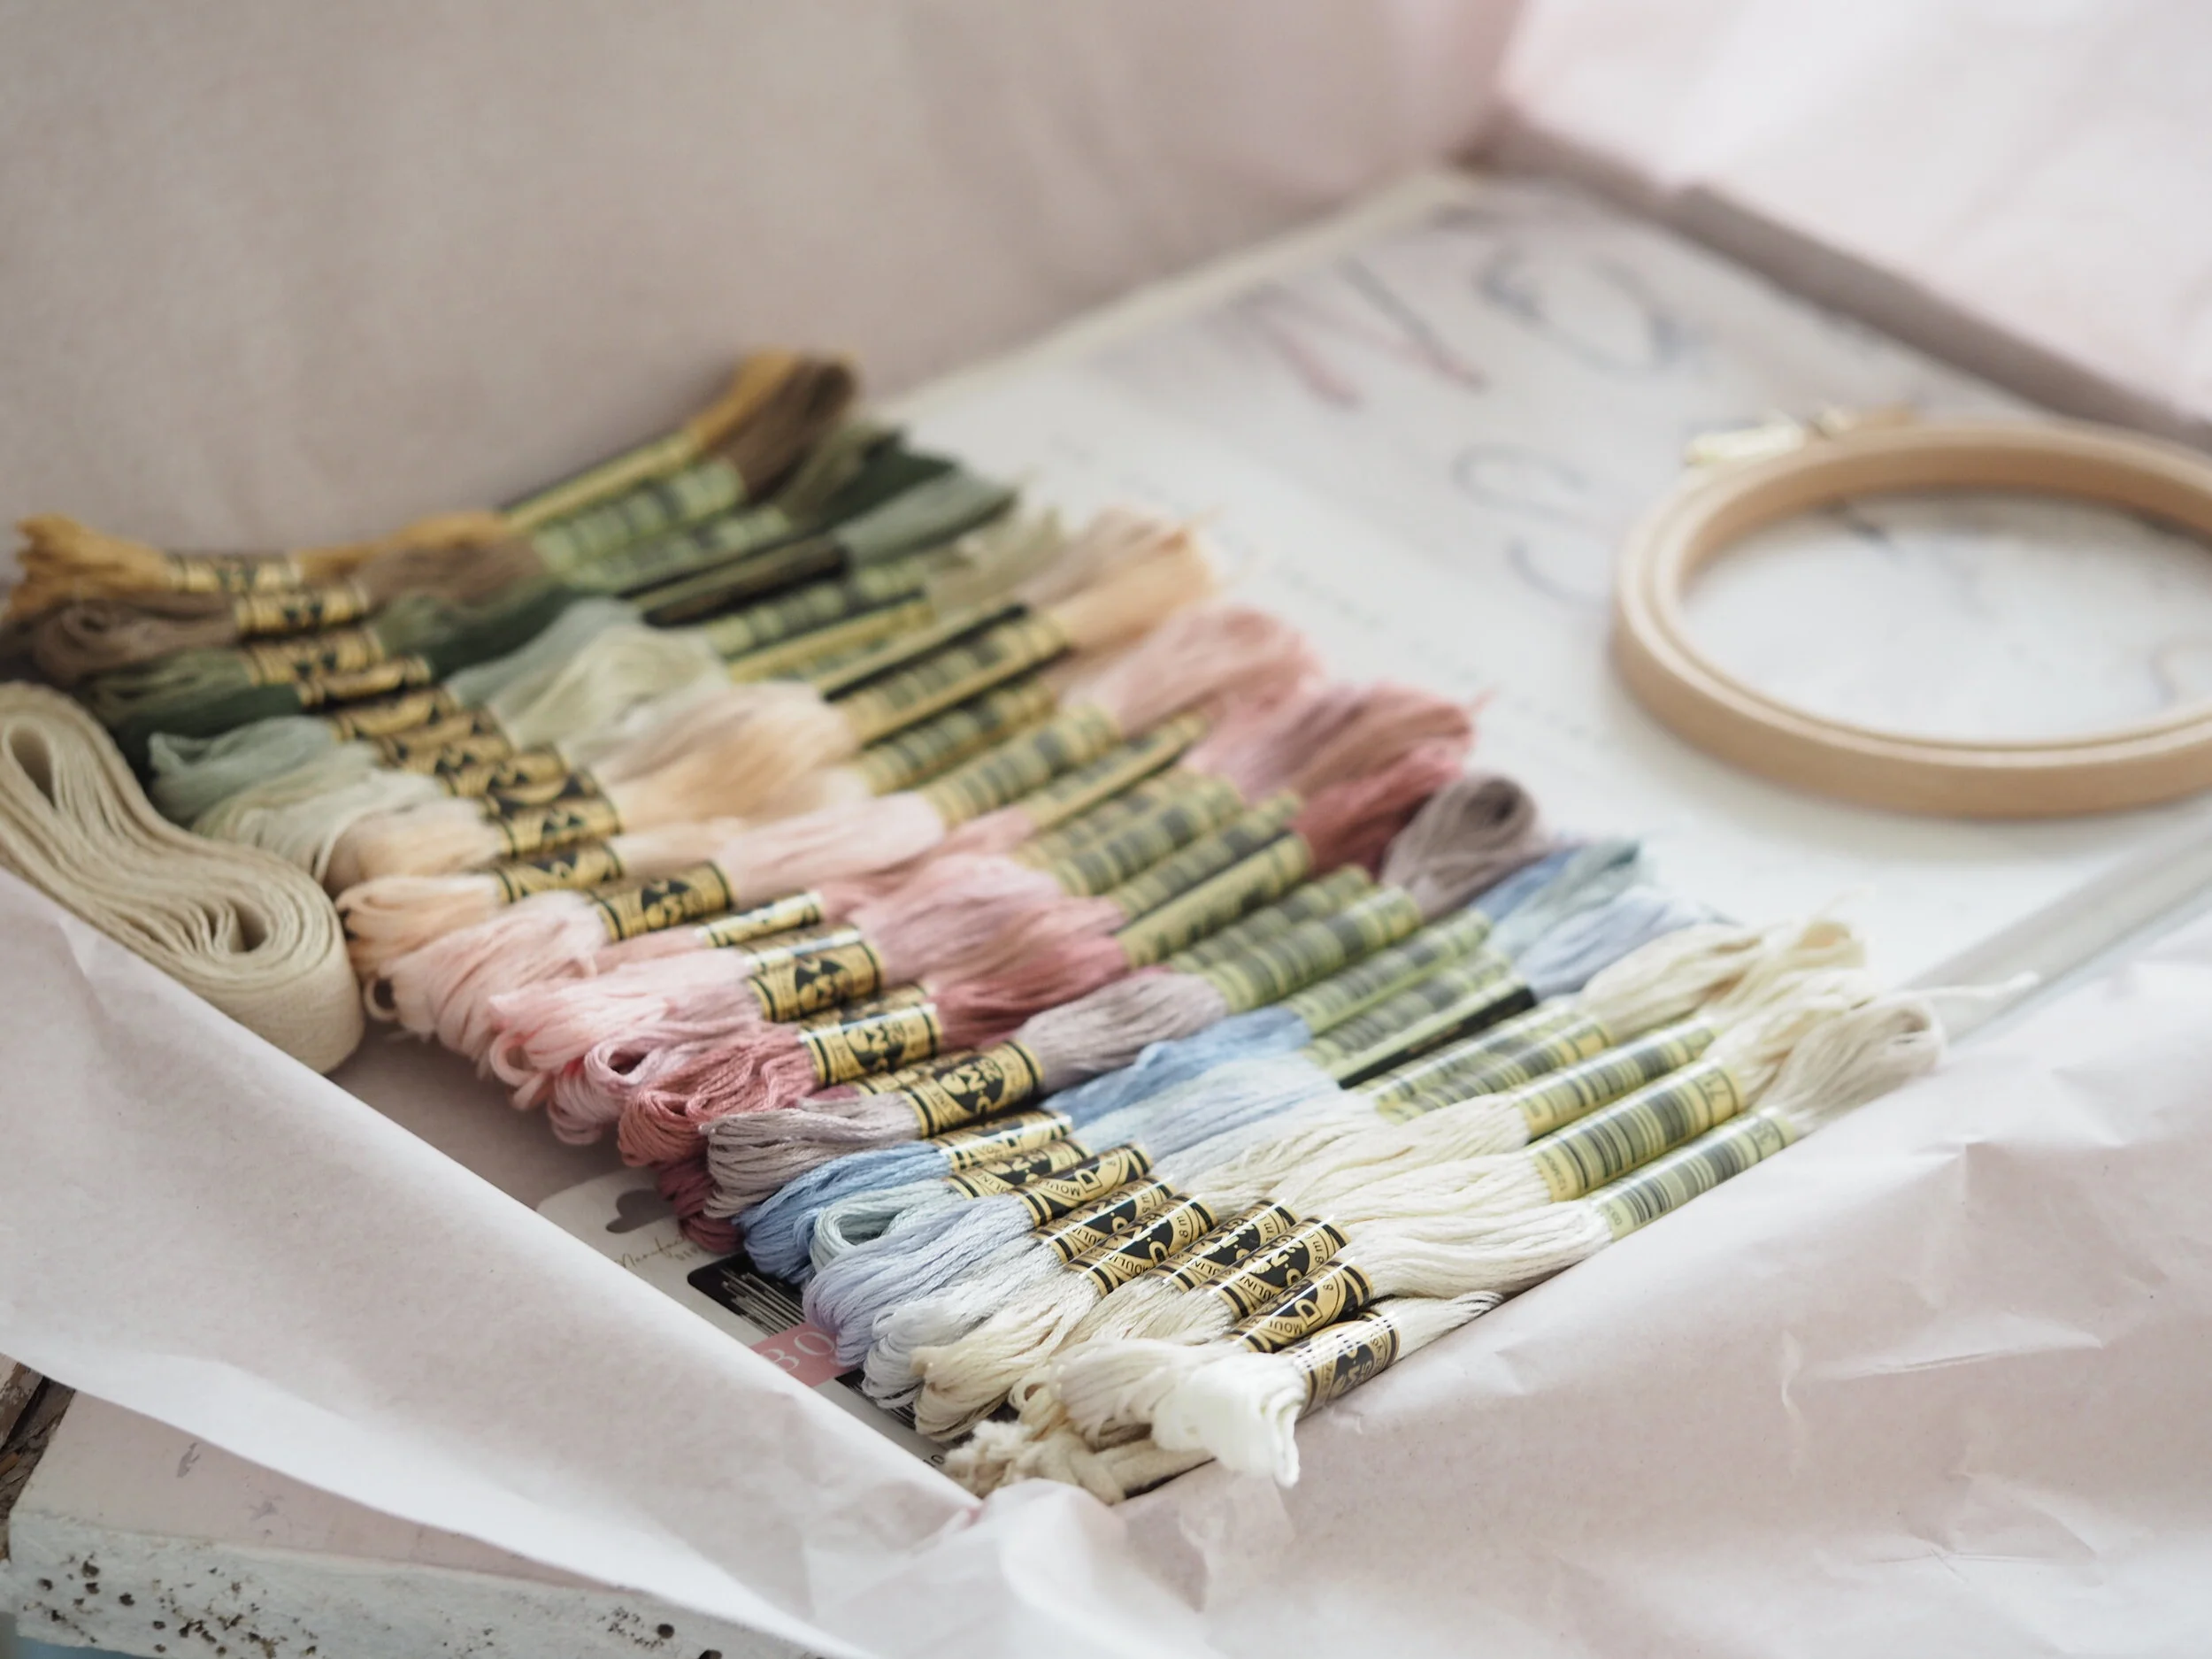
We’ve been busy putting together our Alphabet Sampler kits lately with 29 skeins of thread, all of them beautiful colours, and they look so lovely laid out nicely next to each other. It made me wonder how they would be stored when they reach their destination.

The Stitchery Alphabet Sampler kit with 29 skeins of thread

The Stitchery Alphabet Sampler kit with 29 skeins of thread

When I resumed stitching, about ten years ago now, I became obsessed with finding a way to store threads. I began with the special plastic boxes filled with plastic bobbins. I bought the DMC number stickers and kept a list in the back of my notebook to tick off the ones I’d got, so that I could avoid duplicates when shopping. The sight of those bobbins all neatly stacked and labelled, in colour order was so inspiring to me. (I have dug out a couple of photos from my old blog - Homebird - to show you.)

Screenshot 2021-03-10 at 12.07.43.png
Screenshot 2021-03-10 at 12.07.18.png

I spent the summer of 2012 working on this pretty cross stitch kit from a lovely book. I still love to see a nice tidy box of colours like this but I don’t like how the thread gets such tight kinks in it and now I stitch so much more often and keep SO many more colours in my stash, this doesn’t work for me any more.

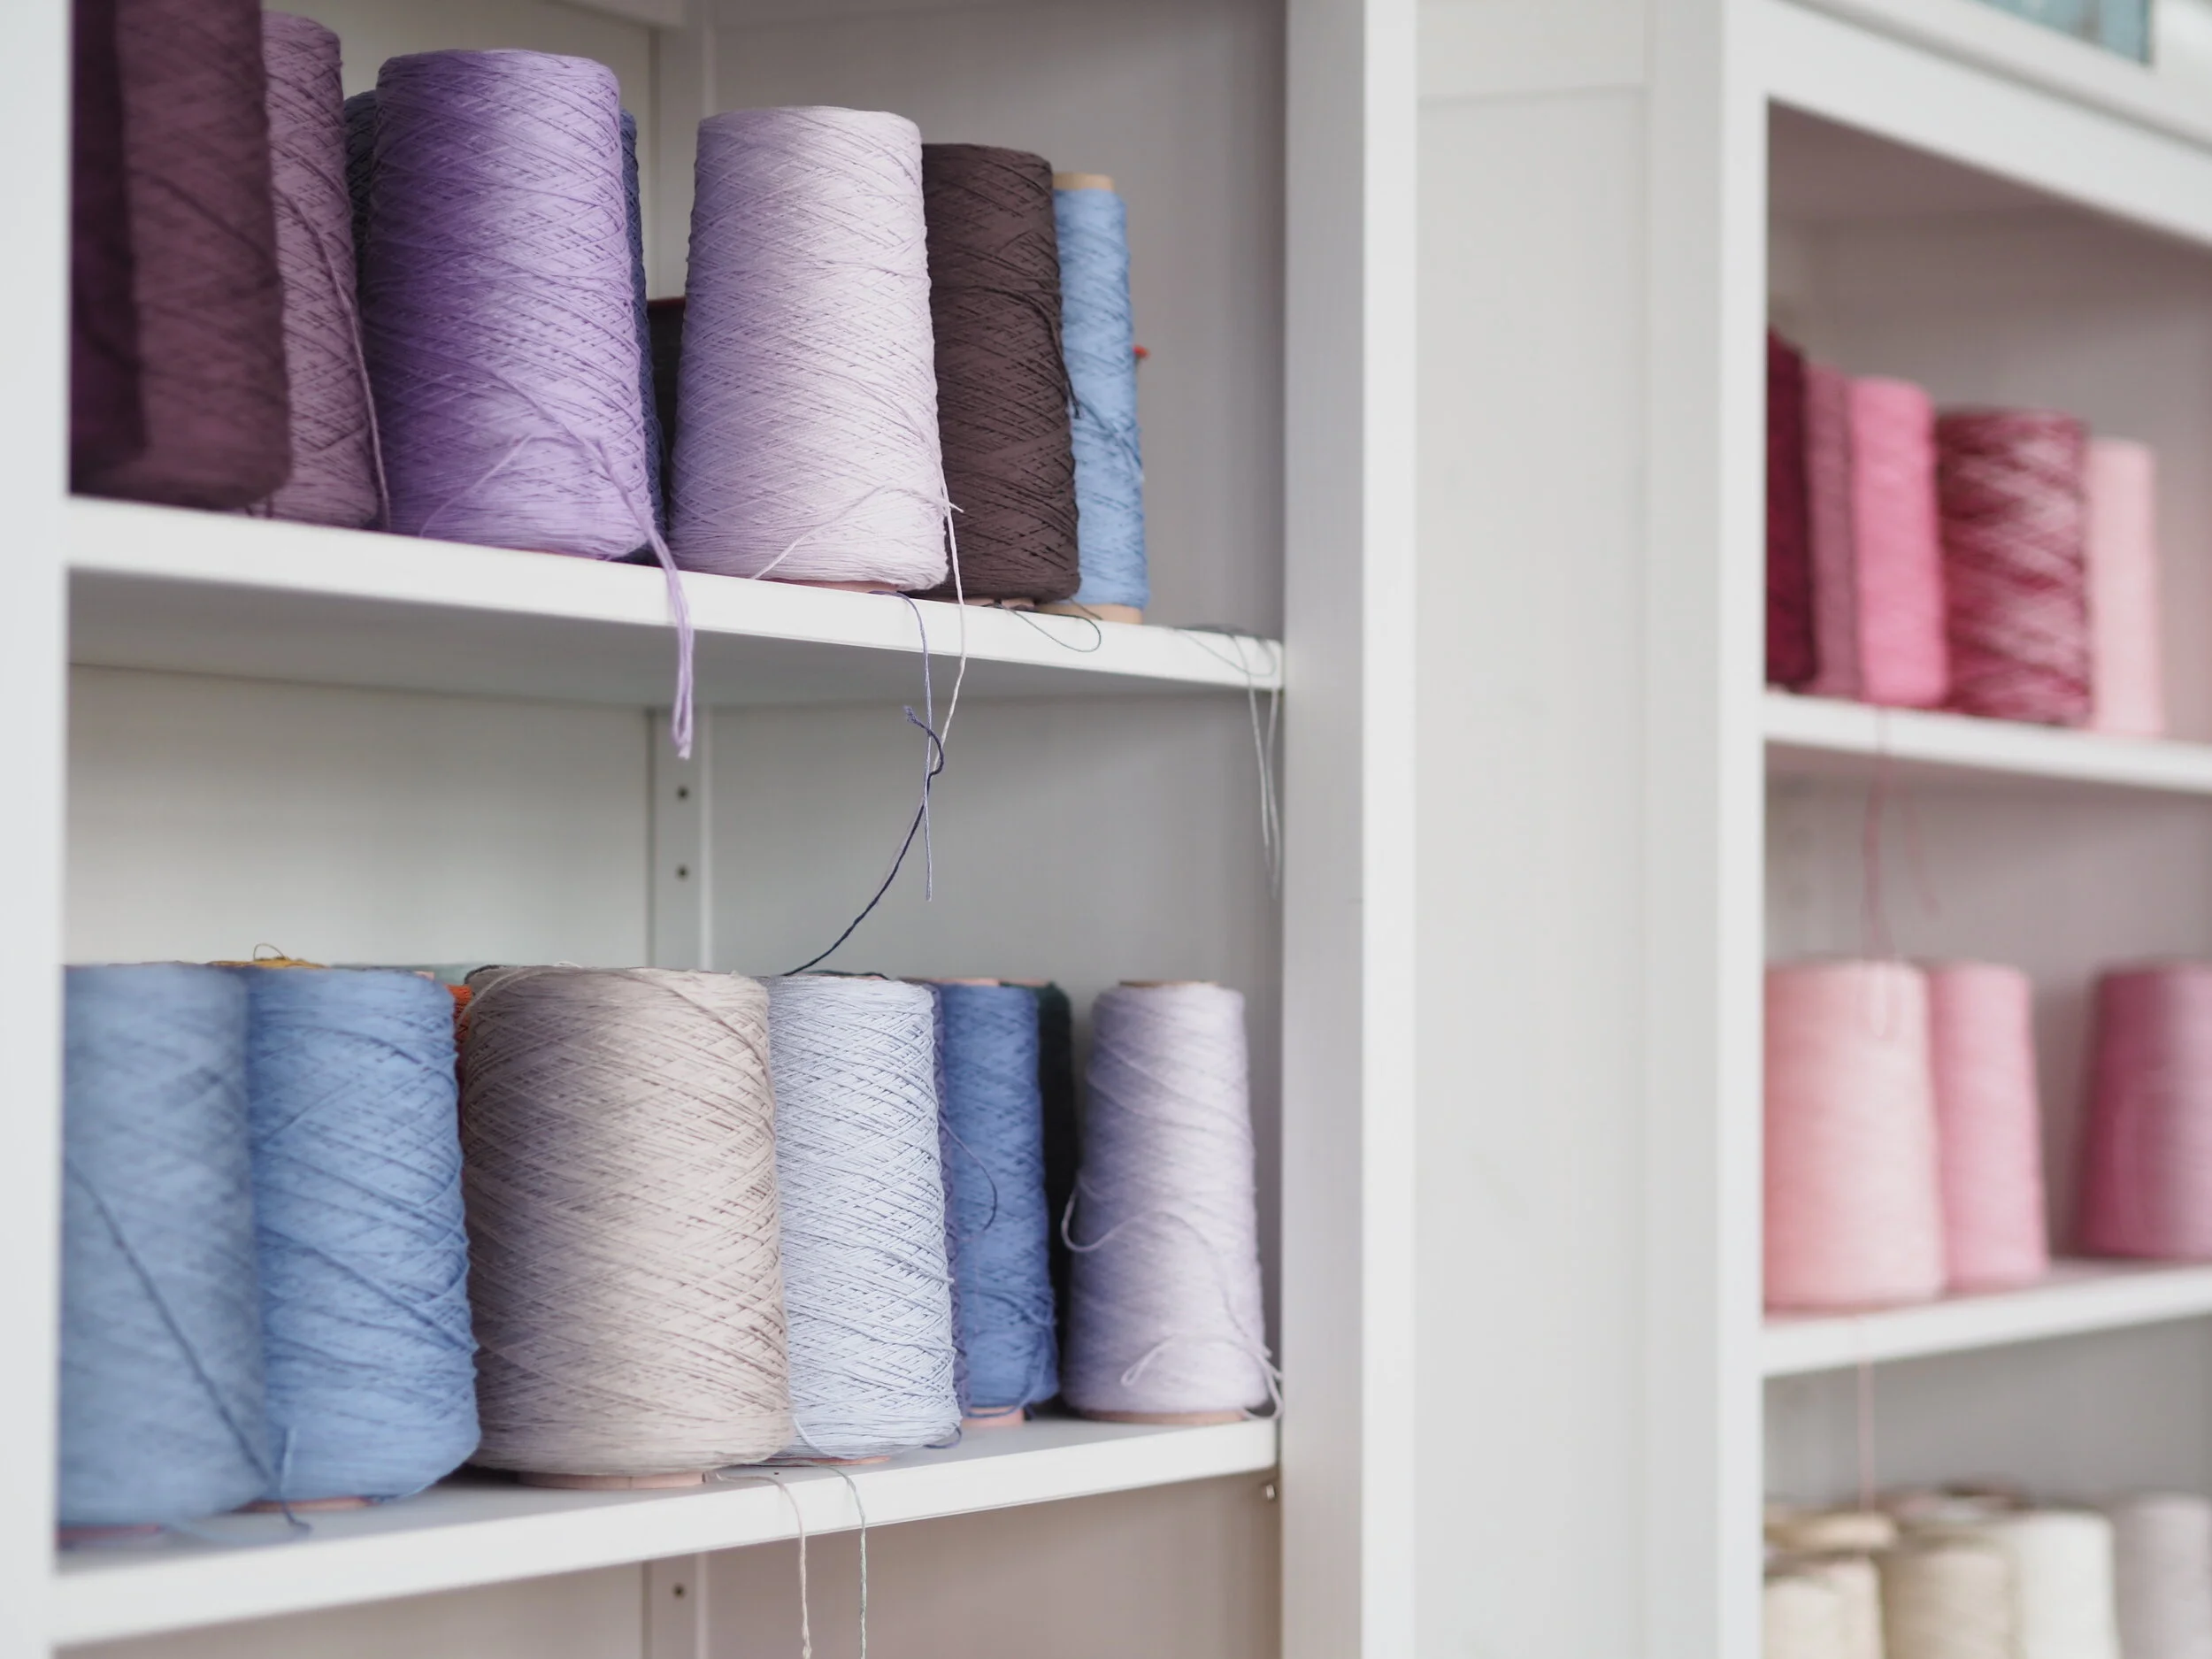
I use DMC for all of my kits because they come in the widest variety of colours and they are easy for people to get hold of replacement colours all over the world. I buy them in large cones and keep them in (sort of) colour order in the studio.

P3100373.JPG

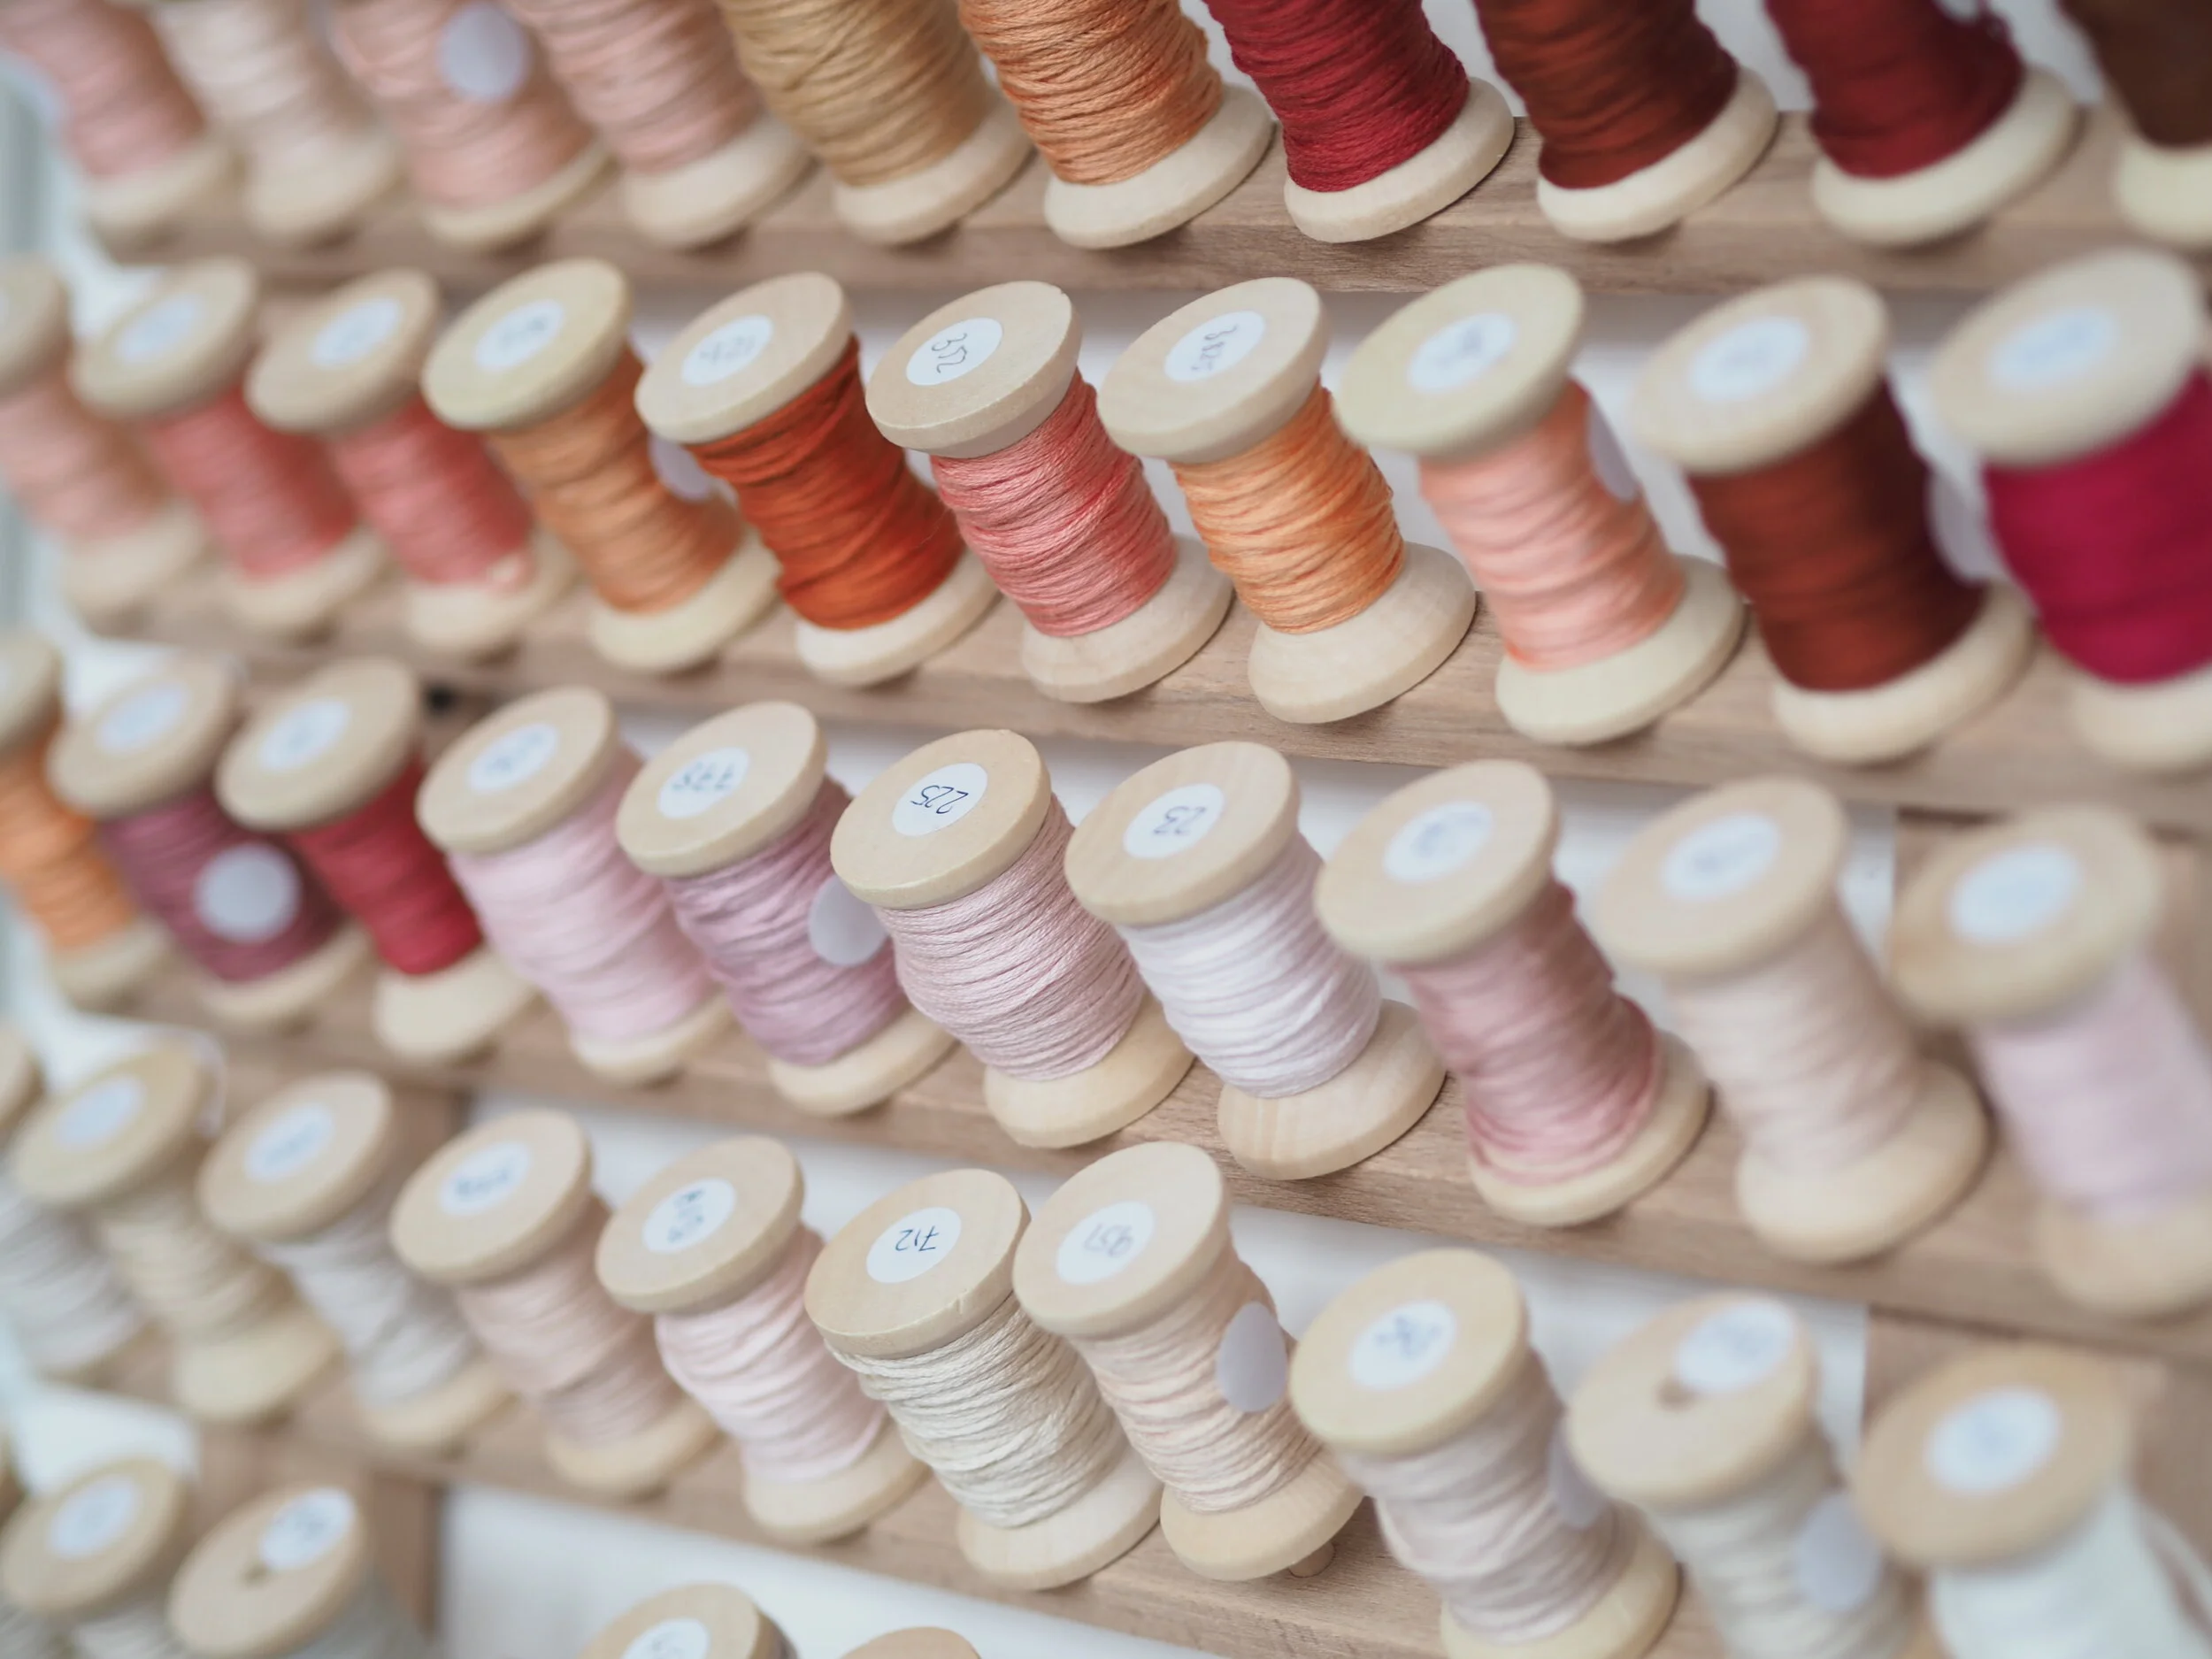
For my personal stitching and in my stash I have not only DMC and Anchor but also Au ver a Soie, Temaricious, Sajou, The Gentle Art, Weeks Dye Works, Cottage Garden Threads, Mulberry Silks, Aurifil and Valdani, to mention just a few. They all come packaged differently and so I like to keep them on wooden spools and I have just found a sweet rack on Amazon to display them all. (Winding them all onto spools is a work in progress and something I have my niece do for me on the weekends to earn a bit of pocket money!)

P3100370.JPG

This is my current favourite storage method for large quantities of thread - I keep a sample of every colour from the cones so that I can easily transport them for kit designs. They look pretty too!

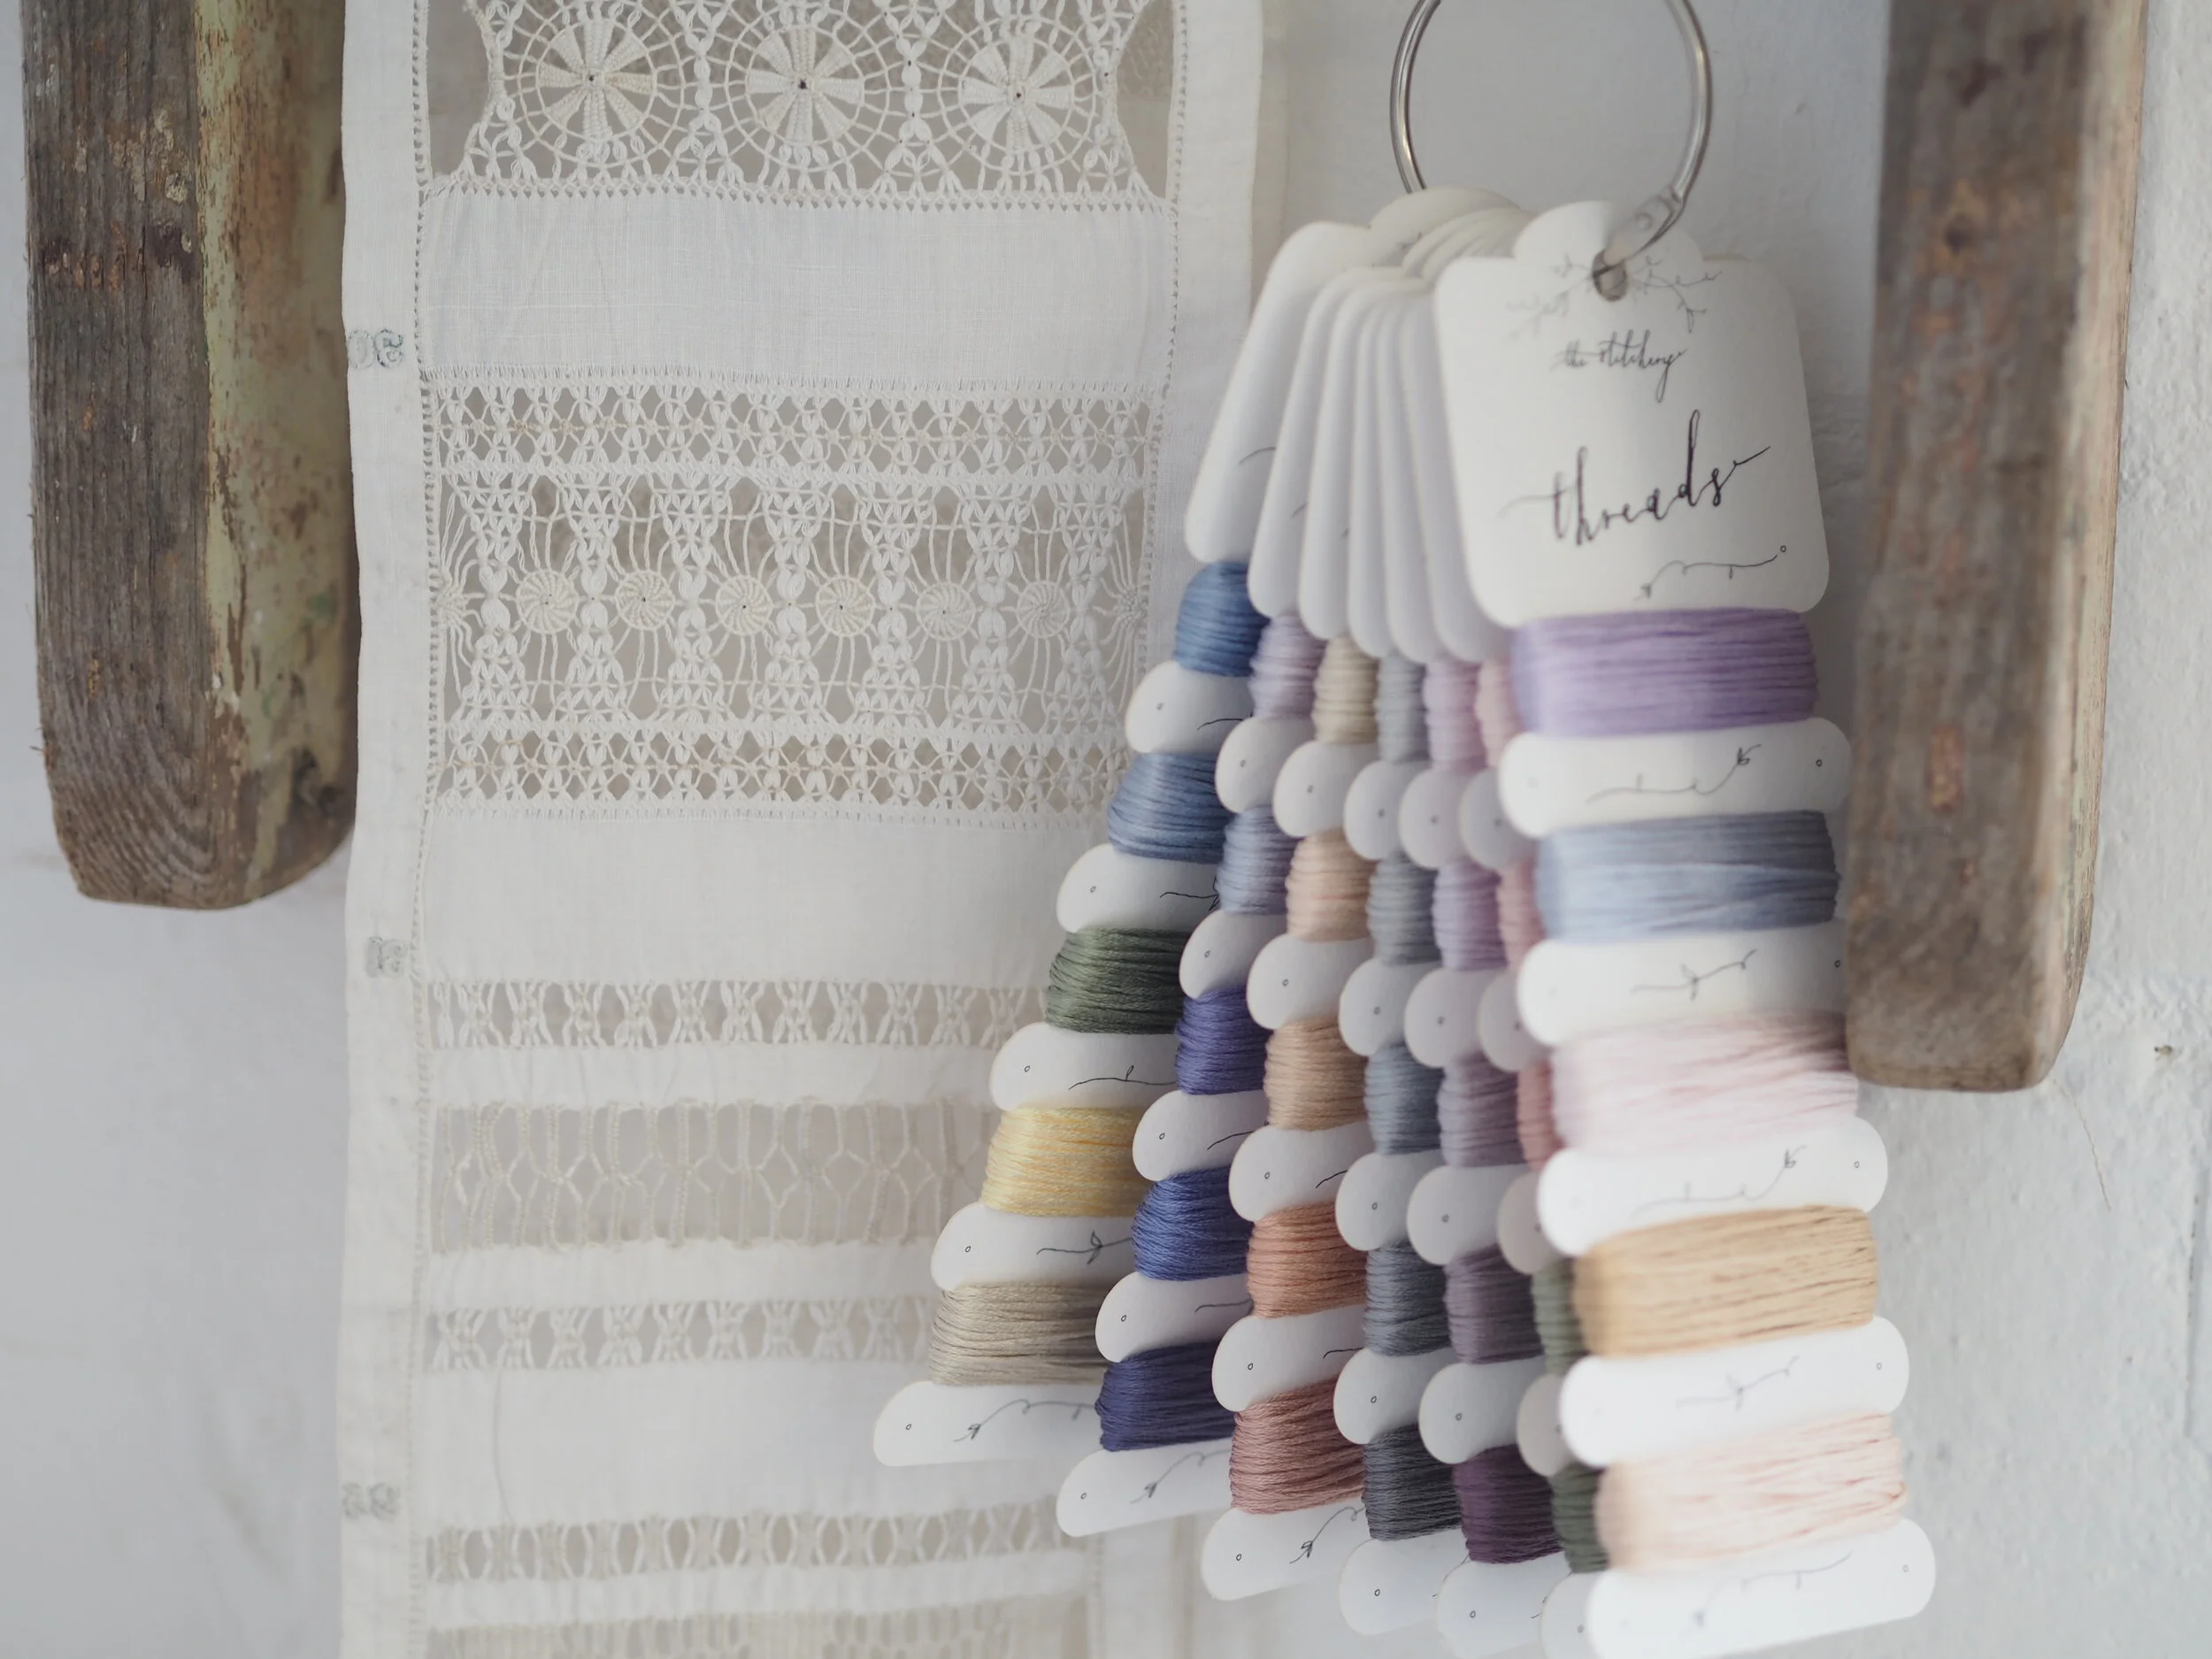
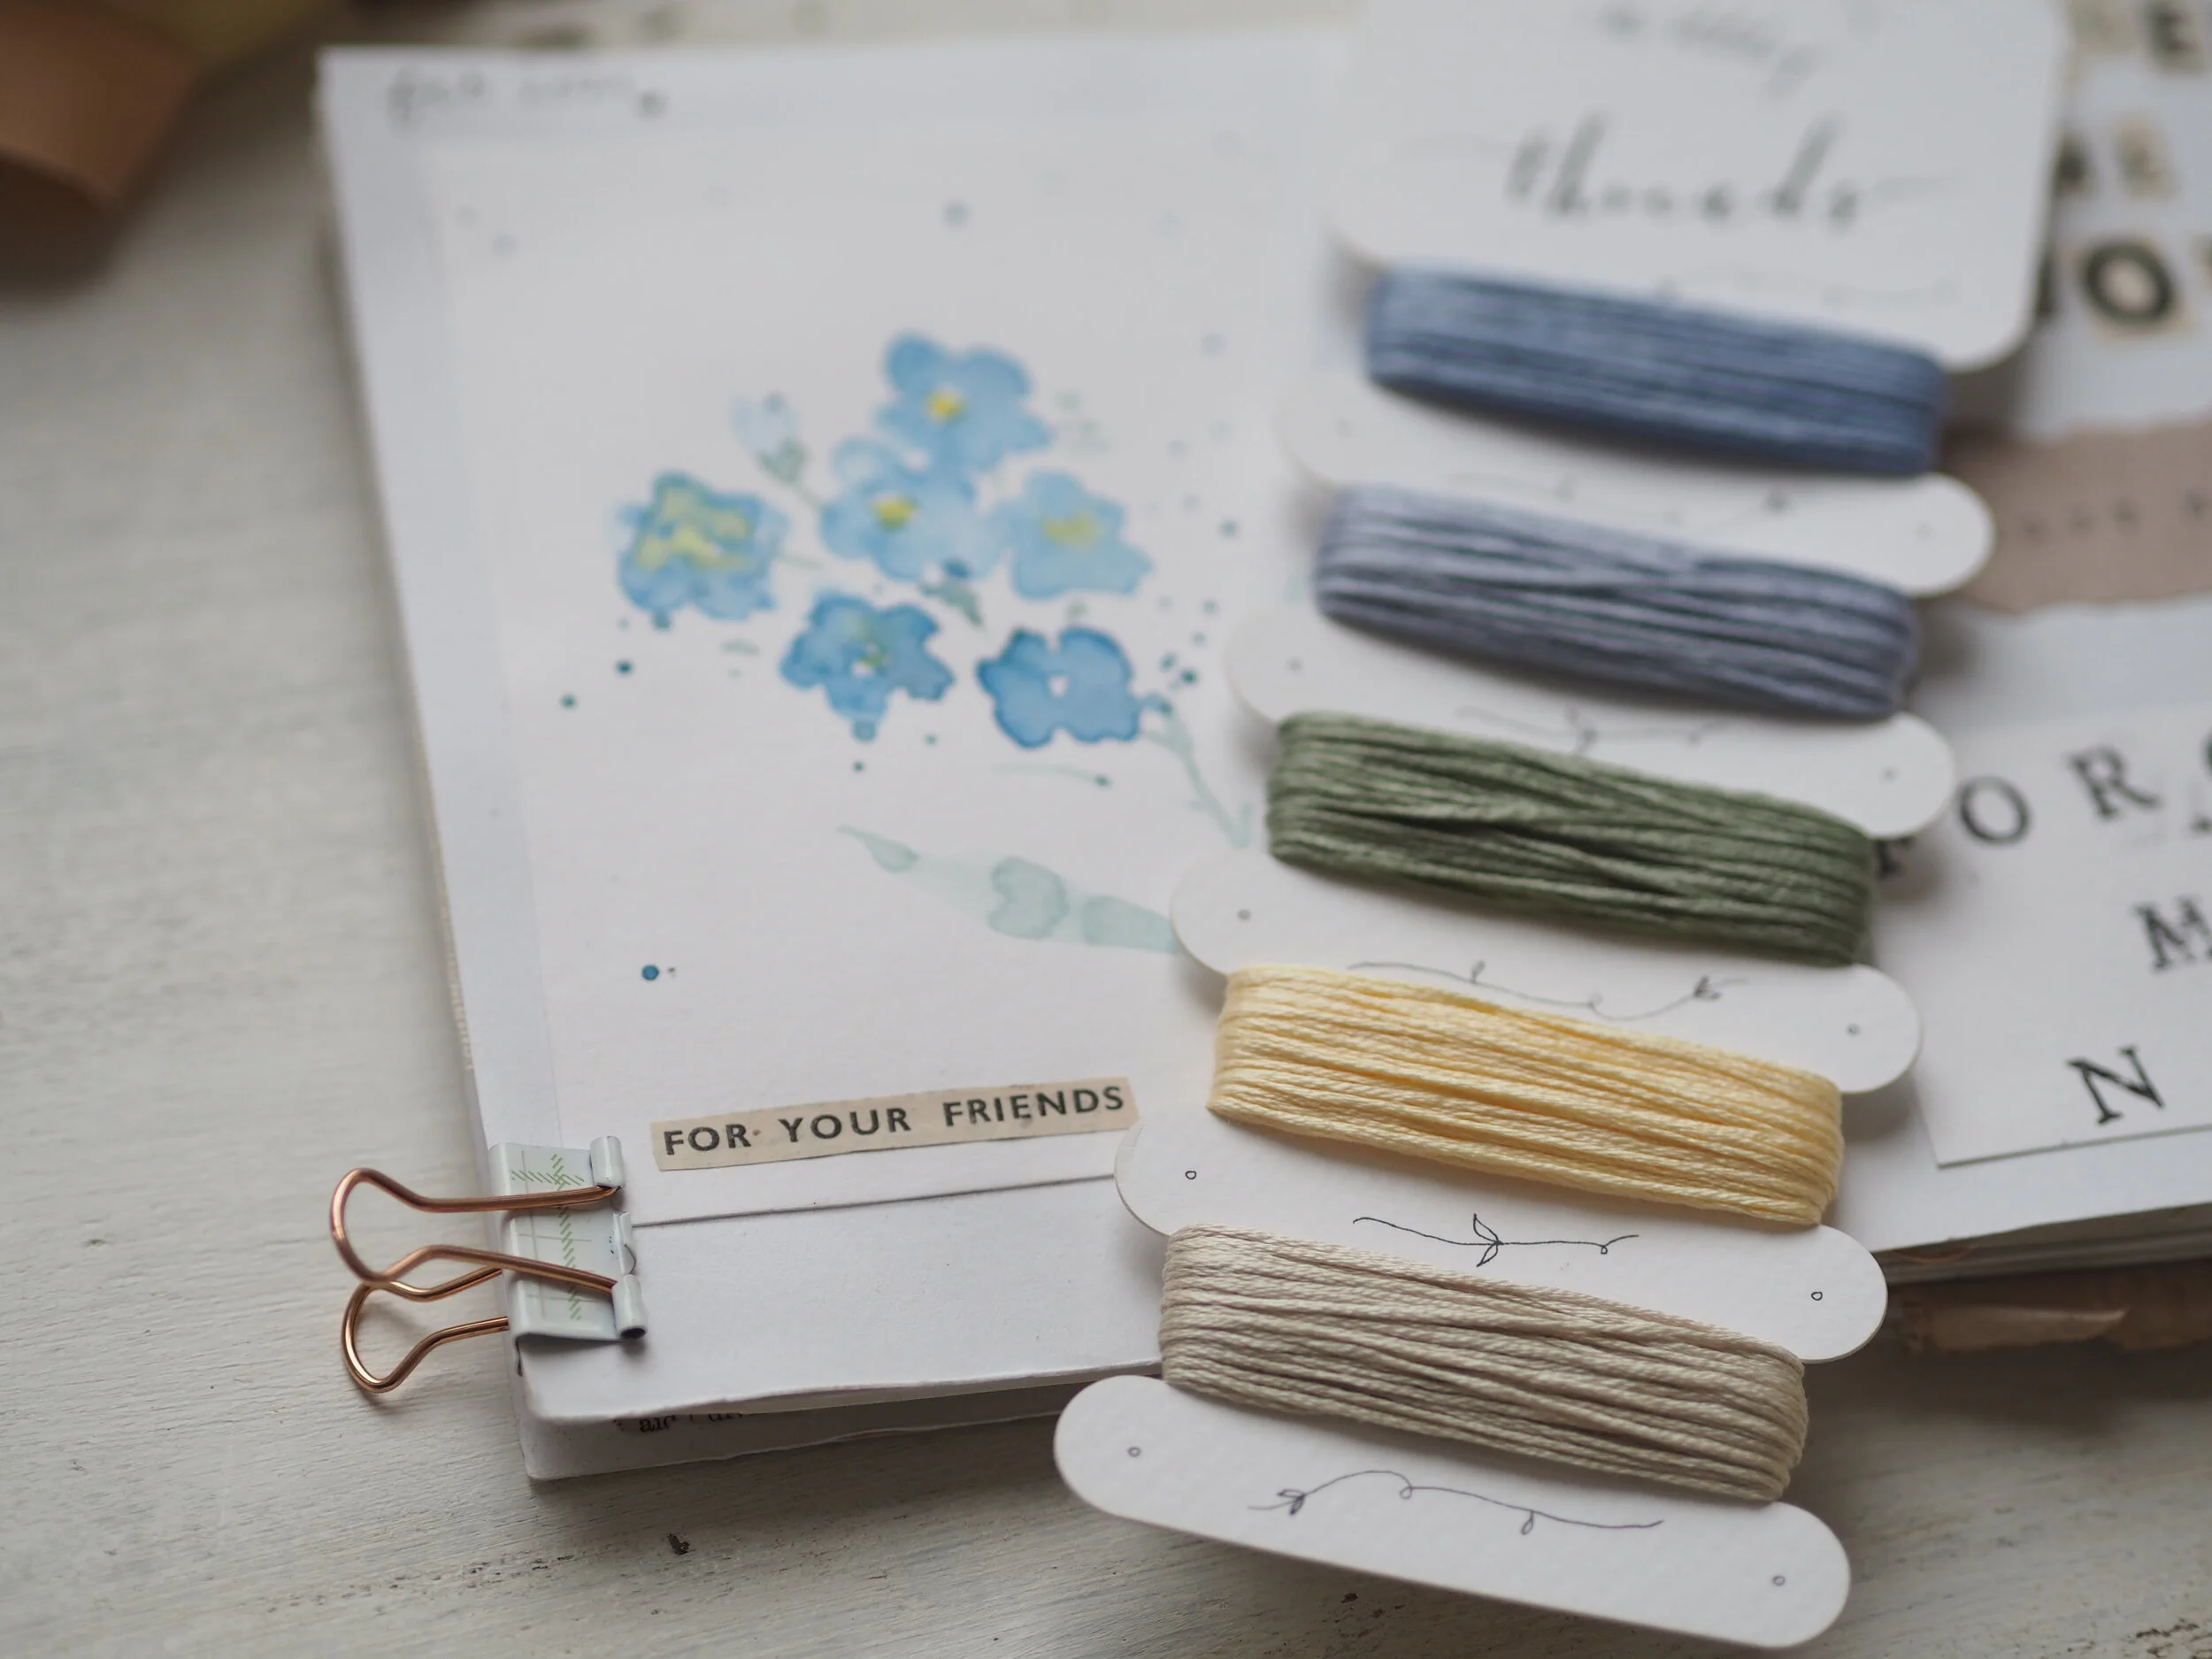
Finally, for my other threads I like to wind them onto my spare collection cards. You can buy them pre-wound here with my ‘favourites’ collections on. I’ll also be selling them in packs soon so that you can use them for your own thread storage. I use tiny white stickers to hold them in place on the back and they keep really neatly hung on a hinged metal thread.

P3100358 2.JPG

Our lush Studio Assistant, Clairey, is making up the thread collections like a trooper and I have just updated stock amounts in the shop HERE for the Rosy Pinks, Spring Pastels and Bluebell Woods collections. We have also created a Forget-me-nots collection, as requested by the group at my Zoom class last month. If you fancy stitching a few forget-me-nots I have a free pdf pattern over in my online studio HERE along with a recording of the online class I held too.

P3100339.JPG
P3100344.JPG

Thanks for reading! Hope you and your families are staying well and safe.

Love

Nicki xx